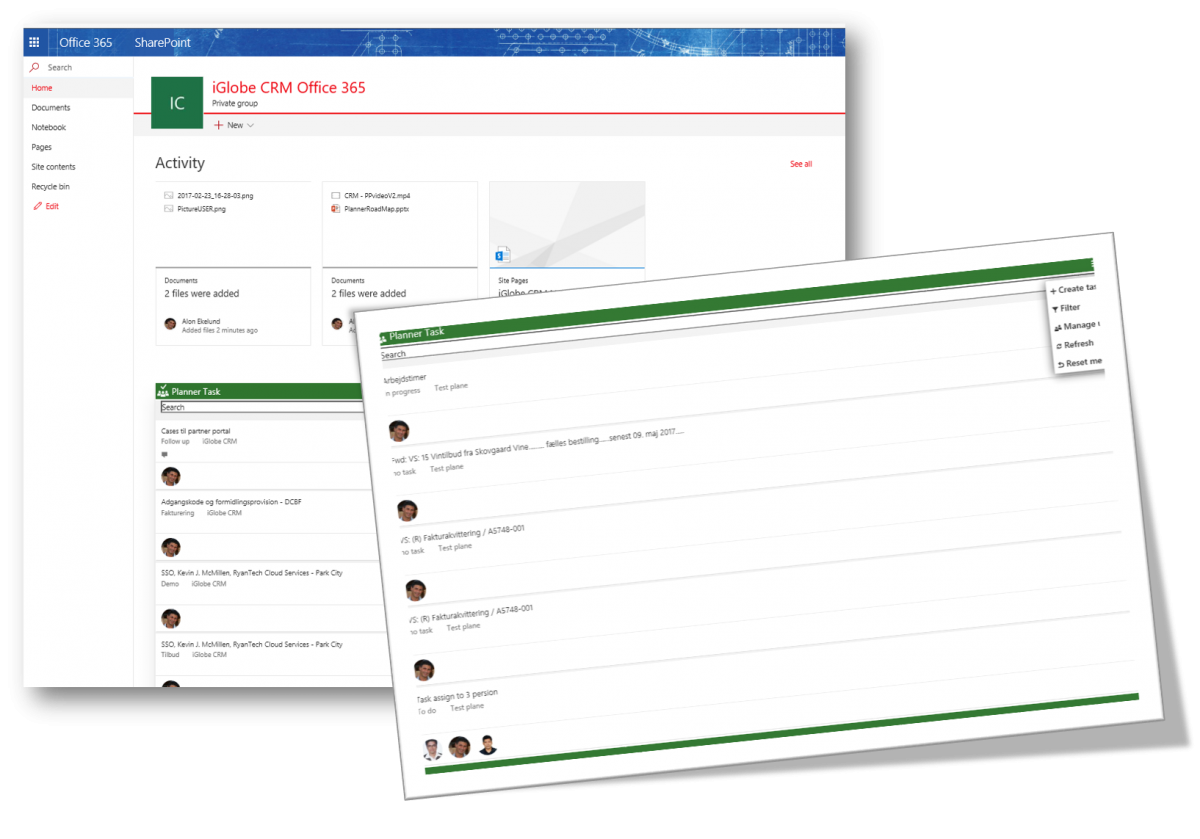
iPlanner SharePoint web-part Add-in is an Add-in to your Office 365 Planner. Office 365 Planner offers people a simple and highly visual way to organize teamwork. Planner makes it easy for your team to create new plans, organize and assign tasks, share files, chat about what you’re working on, and get updates on progress. Planner can be used to manage a marketing event, brainstorm new product ideas, track a school project, prepare for a customer visit, or just organize your team more effectively.
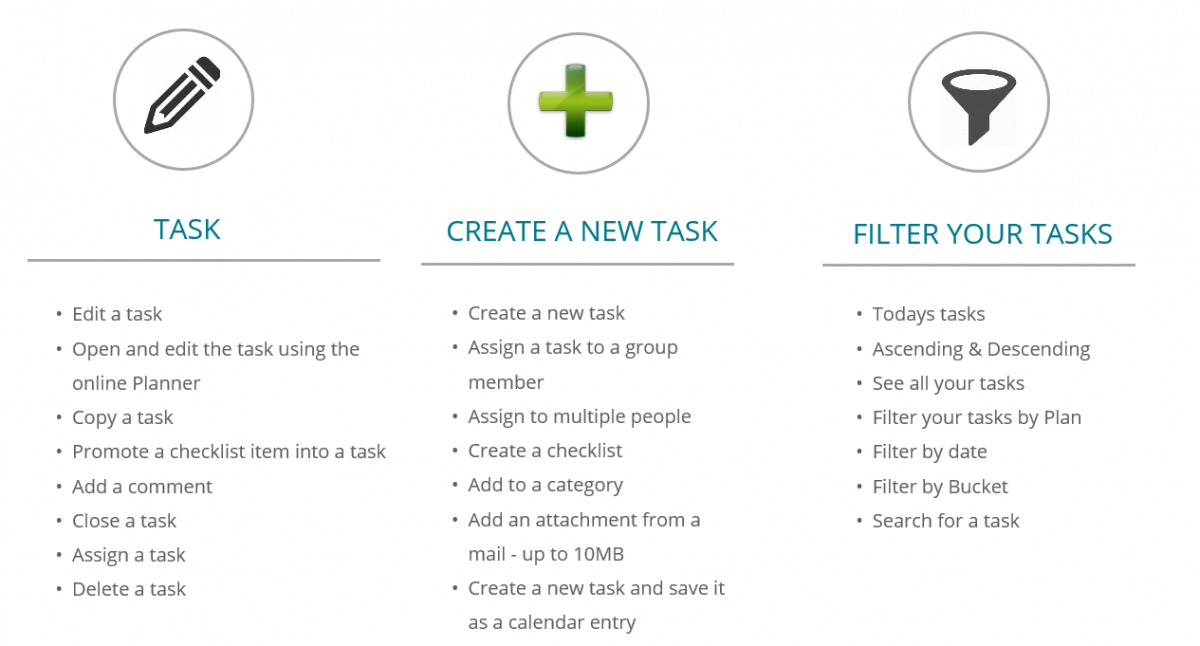
iPlanner SharePoint Add-in is a SharePoint web-part that will. You will be able to manage your Planner tasks directly from your SharePoint project site.
Installing and configuring iPlanner SharePoint Add-in
iPlanner SharePoint Add-in is a SharePoint Framework client-side web. SharePoint client-side web parts are controls that appear inside a SharePoint page but run locally in the browser. They're the bulding blocks of pages that appear on a SharePoint site. Follow the below step to deploy the Add-in for your organization.
Deploy the iPlanner SharePoint Add-in package
Step one is to get the Add-in. Contact iGlobe for the Add-in file. Step two is to deploy the iPlanner SharePoint Add-in package to the
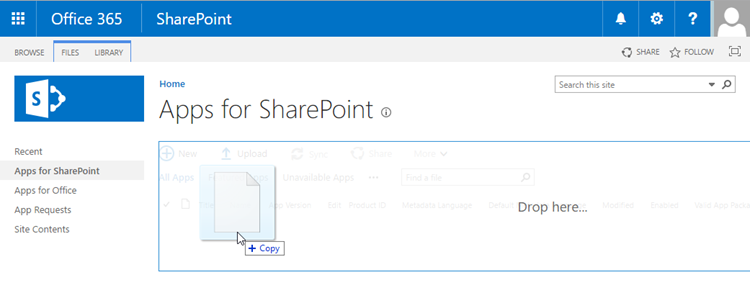
SharePoint app catalog. Go to the App Catalog and upload or drag and drop the iPlannerwebpart.sppkg to the App Catalog.
This will deploy the client-side solution package. Since this is a full trust client-side solution, SharePoint will display a dialog and ask you to trust the client-side solution to deploy.
Install the client-side solution on your site
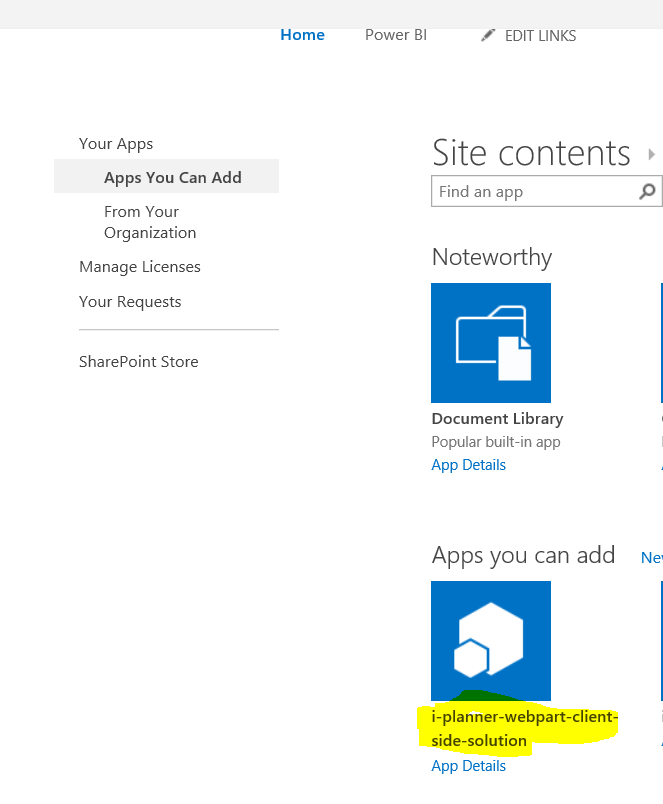
Go to your site collection. Choose the gears icon on the top nav bar on the right and choose Add an app to go to your Apps page. In the Search box, enter iPlannder and choose Enter to filter your apps.
Choose the i-planner-webpart-client-side-solution app to install the app on the site. The client-side solution and the web part are installed on site. The Site Contents page will show you the installation status of your client-side solution. Make sure the installation is complete before going to the next step.
Visit this site for full documentation from Microsoft
Add the iPlanner SharePoint Add-in web part to modern page
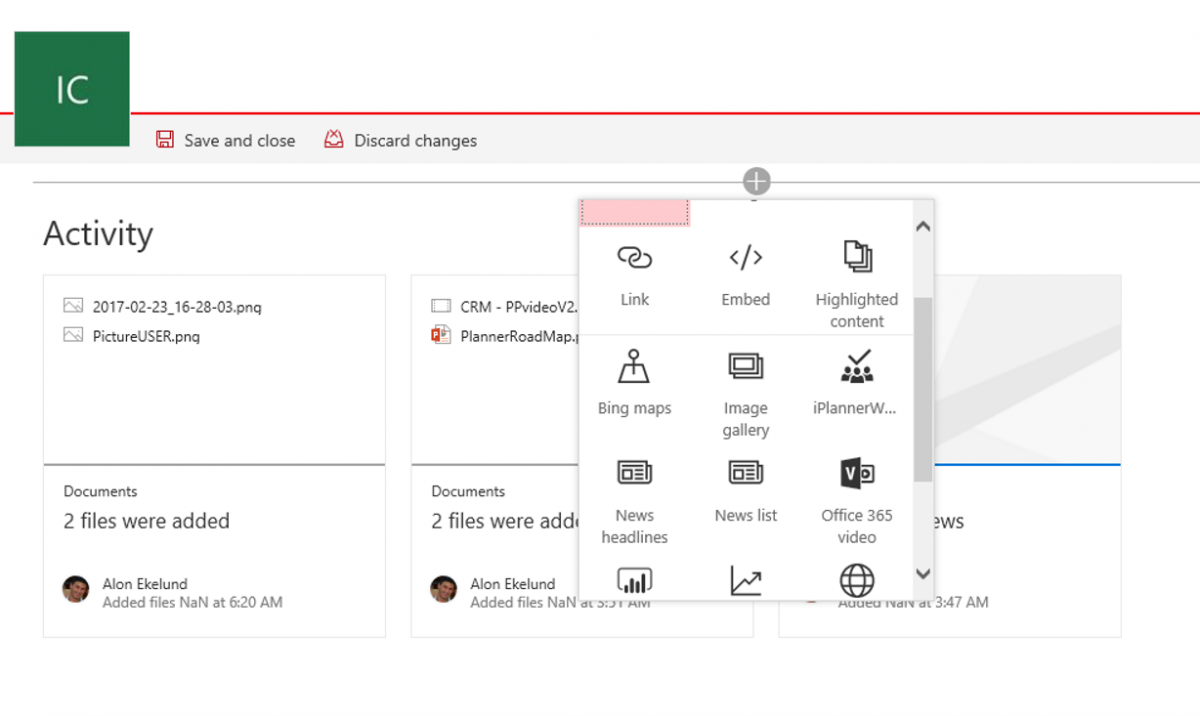
1. Add the wep part to an existing page. Choose Edit page. Select the area you want to add the web-part and click on + . Select iPlanner to add to the page.
2. Or add to a new page. In your browser go to your site collection. Choose the gears icon in the top nav bar on the right and choose Add a page. Open web part picker and chose your iPlanner web part. The web part assets will be loaded from the local environment. You should see the iPlanner web part.
Add the iPlanner SharePoint Add-in web part to SharePoint page the "old" way.
Simply follow the instruction from Microsoft on this
page . iPlanner wep-part will be found in a library called "iGlobe".
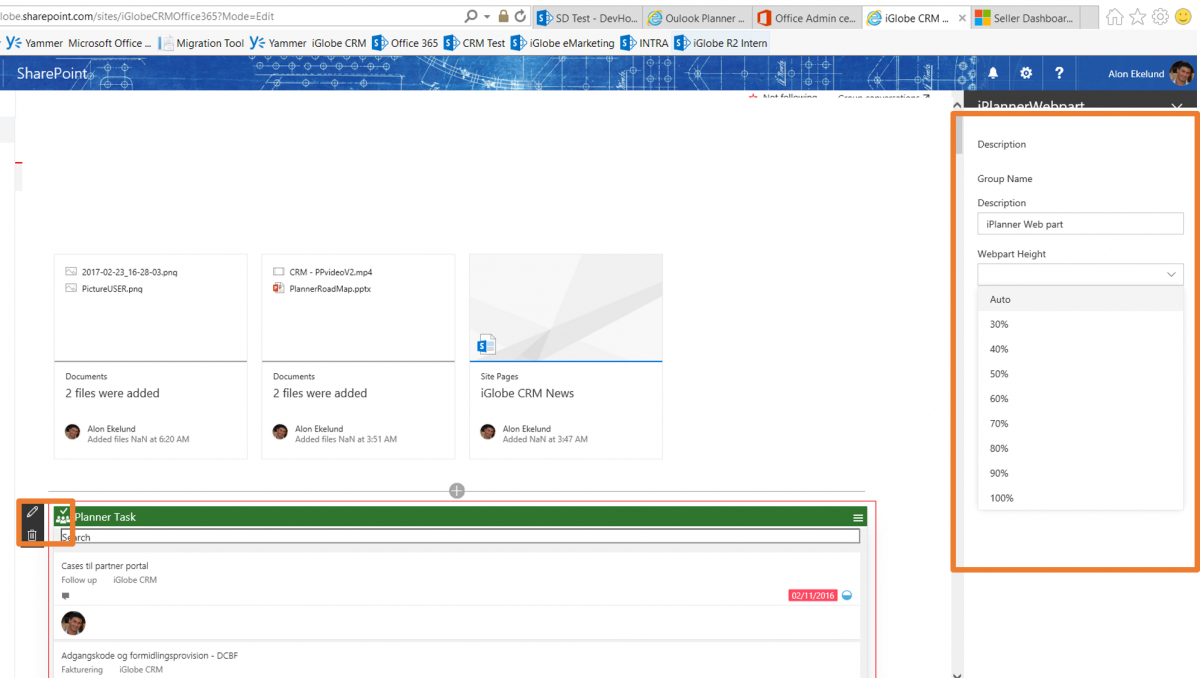
Configuring the iPlanner SharePoint Add-in web .