One Click will do the trick
iGlobe CRM PowerApp Mobile App
Learn how to implement iGlobe CRM Power App.
iGlobe CRM Power App is a mobile App for iGlobe CRM Office 365. Before you can use iGlobe CRM PowerApp you will have to have a fully configured iGlobe CRM application running on your Microsoft 365 tenant. You can use iGlobe CRM Mobile PowerApp as standard or customize the App to fit your exact need. In order to use the PowerApp with iGlobe CRM on your tenant, you will have to configure the App as shown below.
Preparation
You will need to connect the solution to your iGlobe CRM App on your tenant. As an iGlobe CRM users you already know that we will need the same URL we always use when connecting to the CRM App. Open iGlobe CRM Office 365 and copy the URL from https util “pages” it will look like this example https://YOURDOMIAN-9343dce445fe89.sharepoint.com/sites/SITENAME/IGlobeCRM
Import and deploy iGlobe CRM PowerApp as a solution
Before you deploy a PowerApp make sure you have an environment set up where you can deploy the App. An environment is a space to store, manage, and share your organization's business data, apps, and flows. It also serves as a container to separate apps that may have different roles, security requirements, or target audiences. Power Apps automatically creates a single default environment for each tenant, which is shared by all users in that tenant. Learn more information about environments. You can use an existing environment or set up a new and dedicated one for iGlobe CRM. Before you can share and give access to other users in your organization you have to make sure the persmission is set up correct.
Setting permission in the enviroment
- Navigate to Power Apps Admin Center
- Selected the Environment you are working.
- Click on Settings on top bar.
- Go to User + Permissions >> Security Roles
- Under the Security Roles, find the Basic User role , click on ellipses (...) >> Edit
-
Under Customization tab >> Select Process >> assign Read access to the Organization

You are now ready to deploy iGlobe CRM PowerApp for Microsoft Store
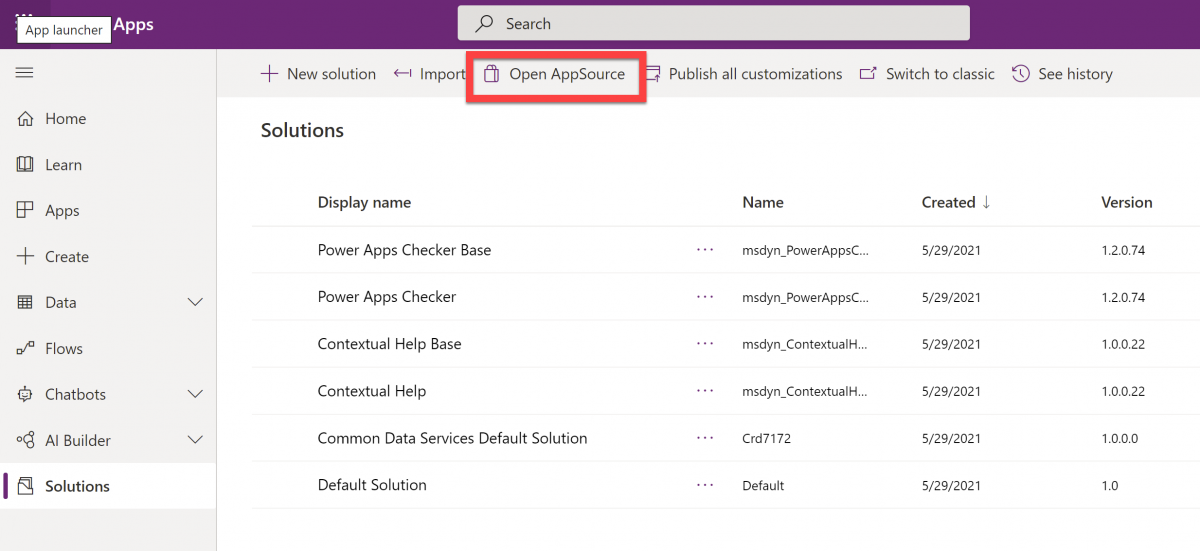
1. Sign in to Power Apps.
2. Select Solution from the left navigation pane.
3. Select Open AppSource on the command bar.
4. You will now be redirected to Microsoft AppSoiurce. In the search bar on the top right cornor search for iGlobe CRM.
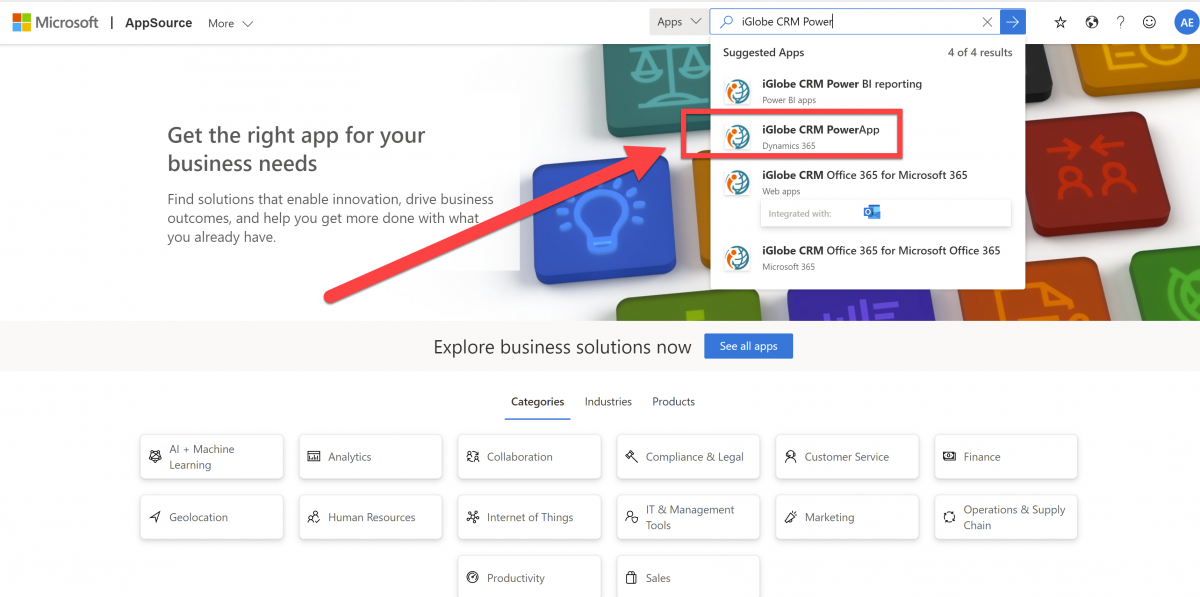
5. Select iGlobe CRM PowerApp and you will be redirected to the App page.
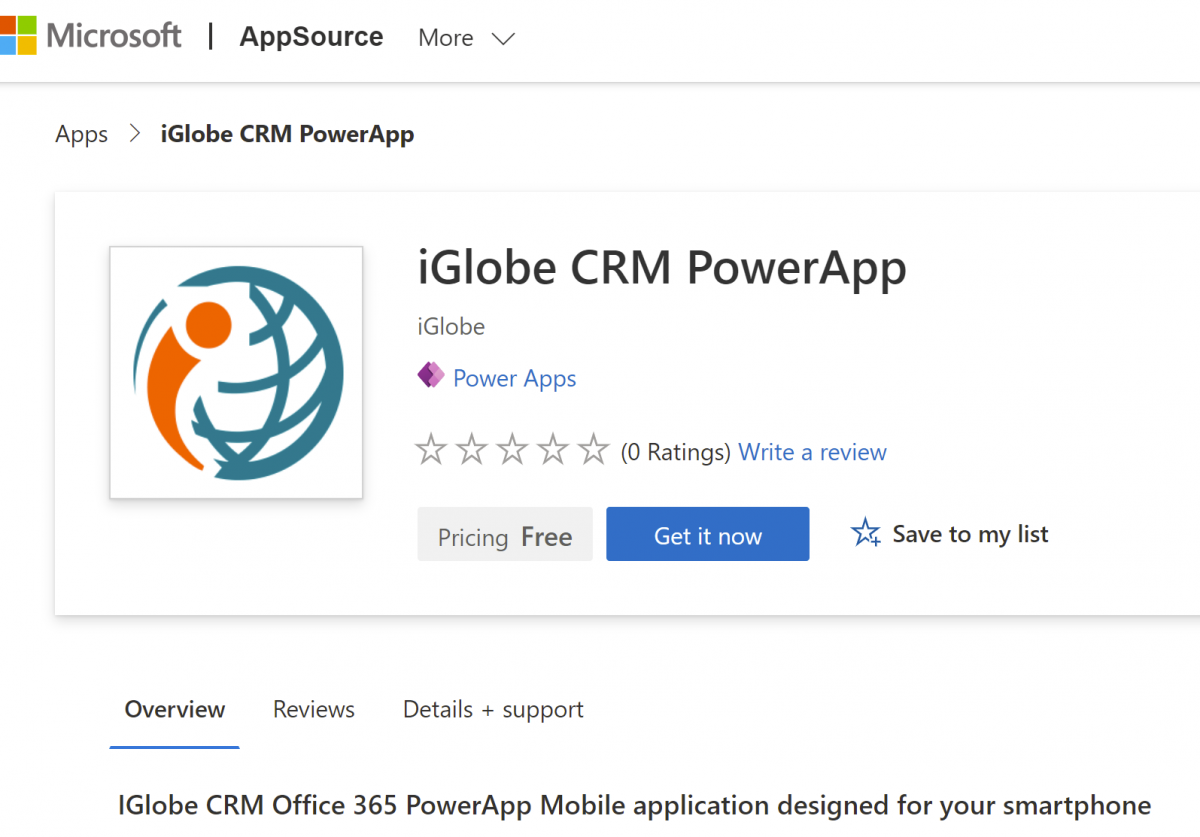
6. Select Get it now and the deployment process will start.
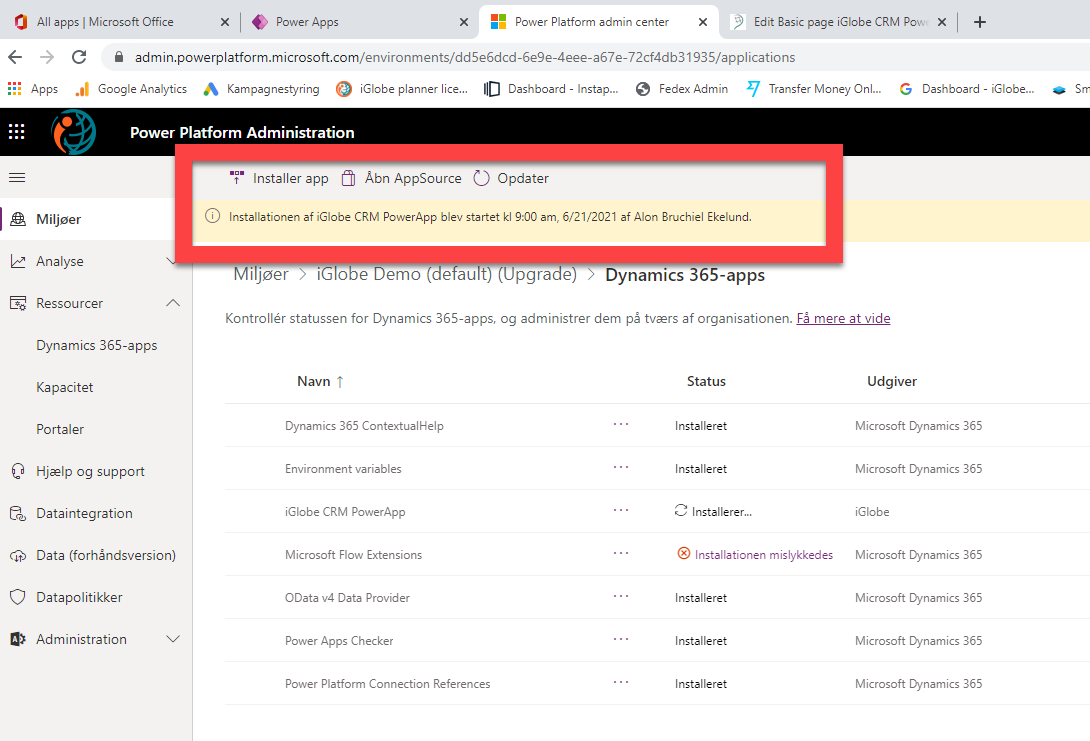
7. When the deployment is done you will be able to see the App under Solutuion as follow

We will now need to con figure the App
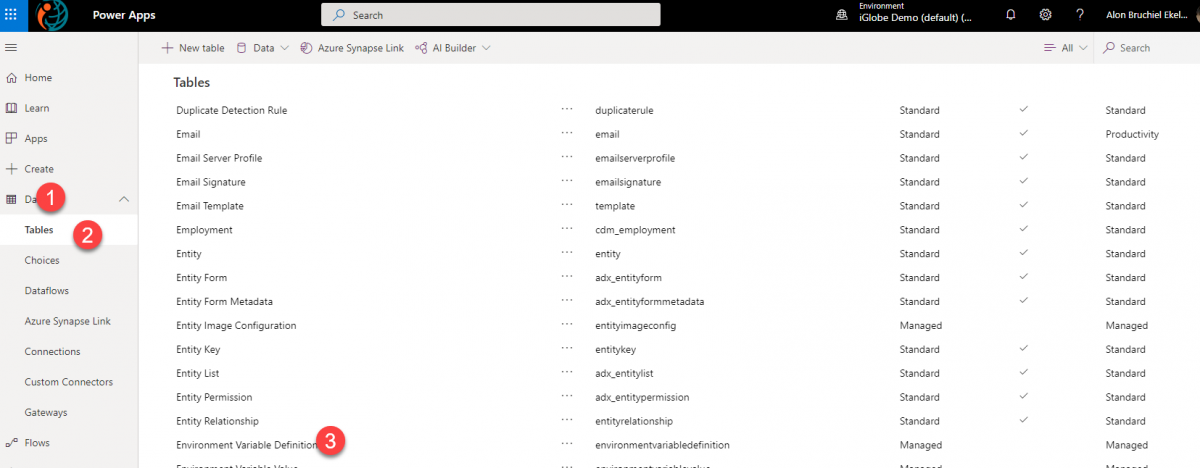
7. Go back to the PowerApp tab and click Data and select Tables.
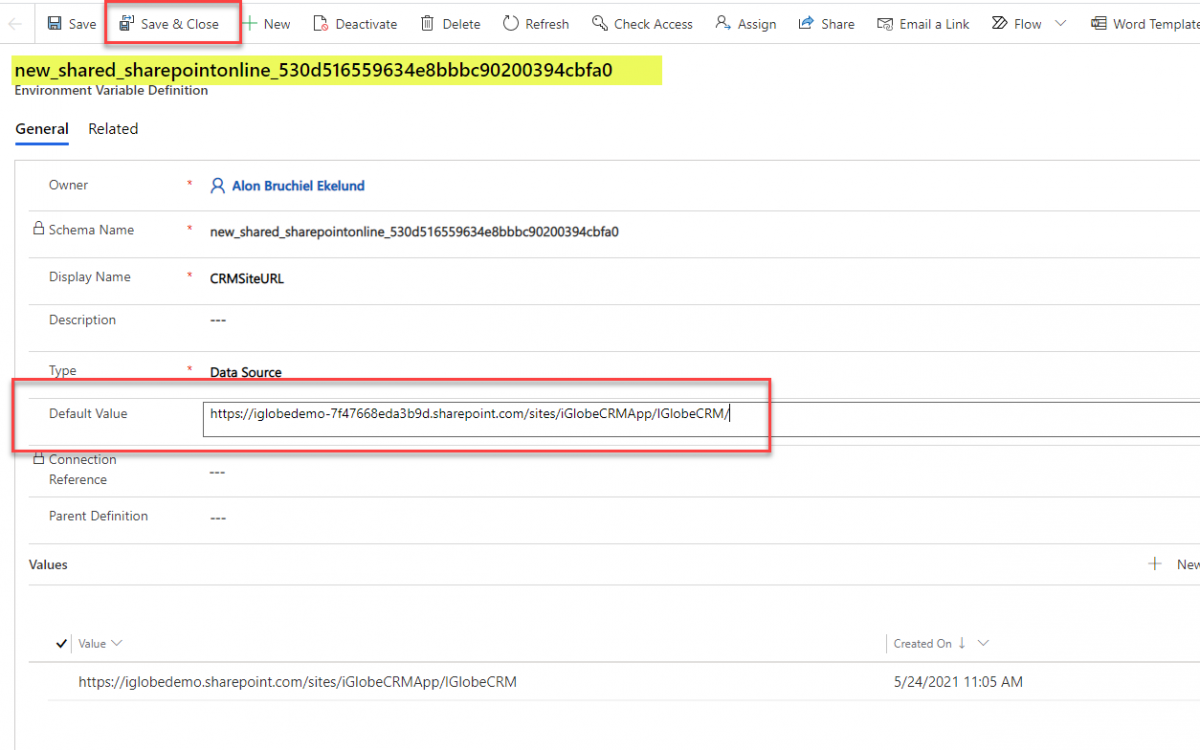
8. Click on Environment Variable Definition
9. You will now see the below page.
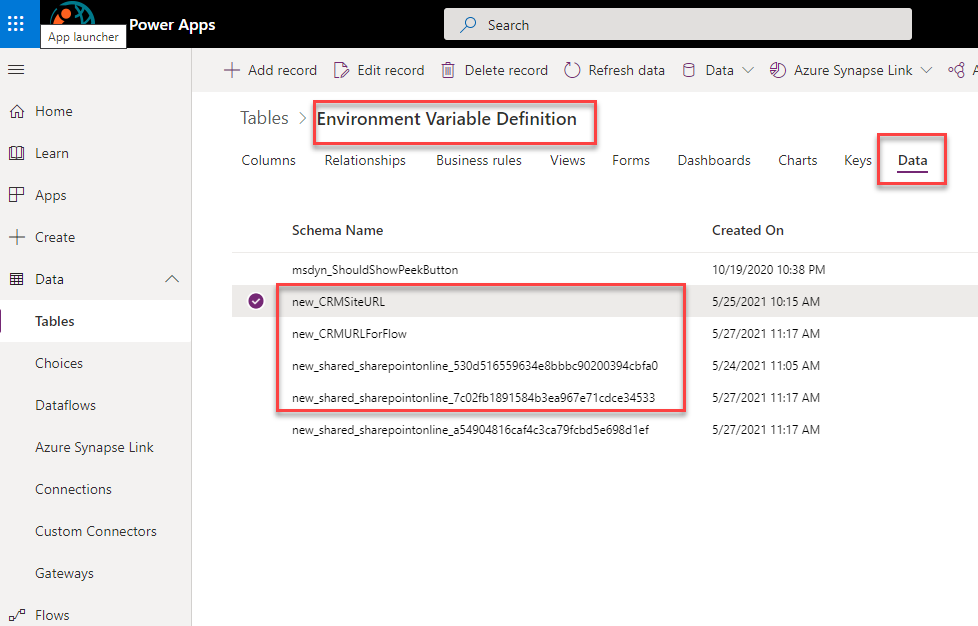
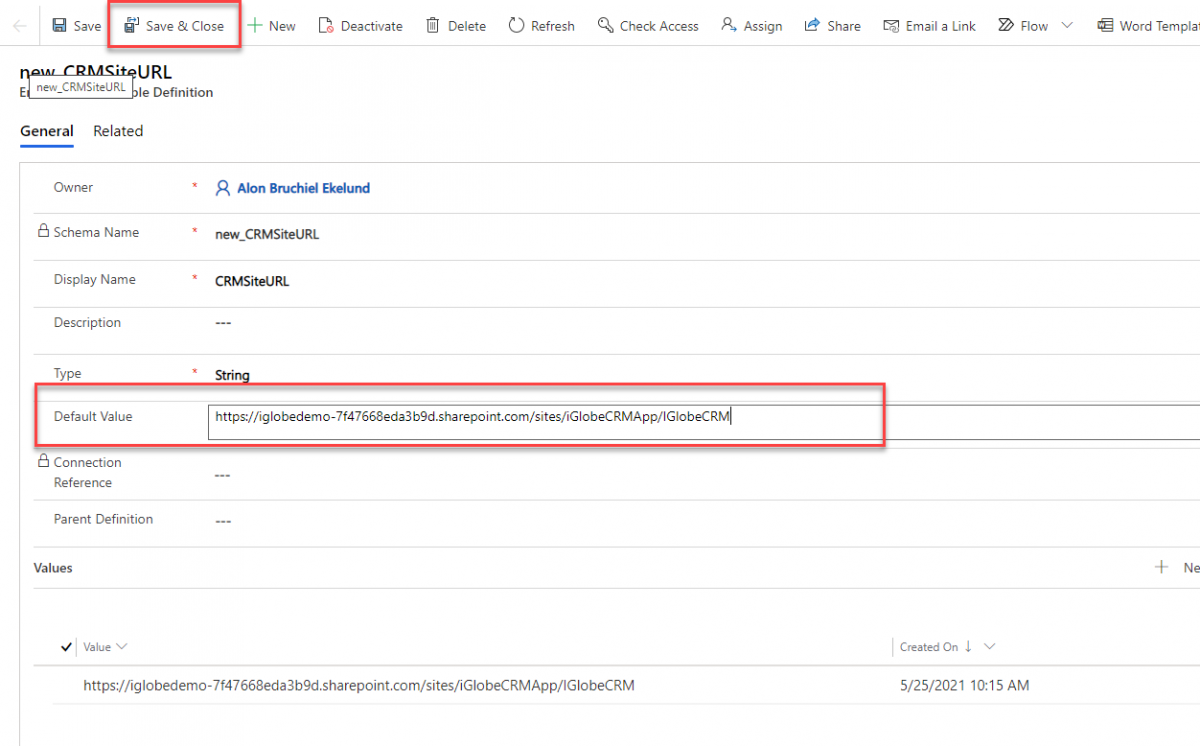
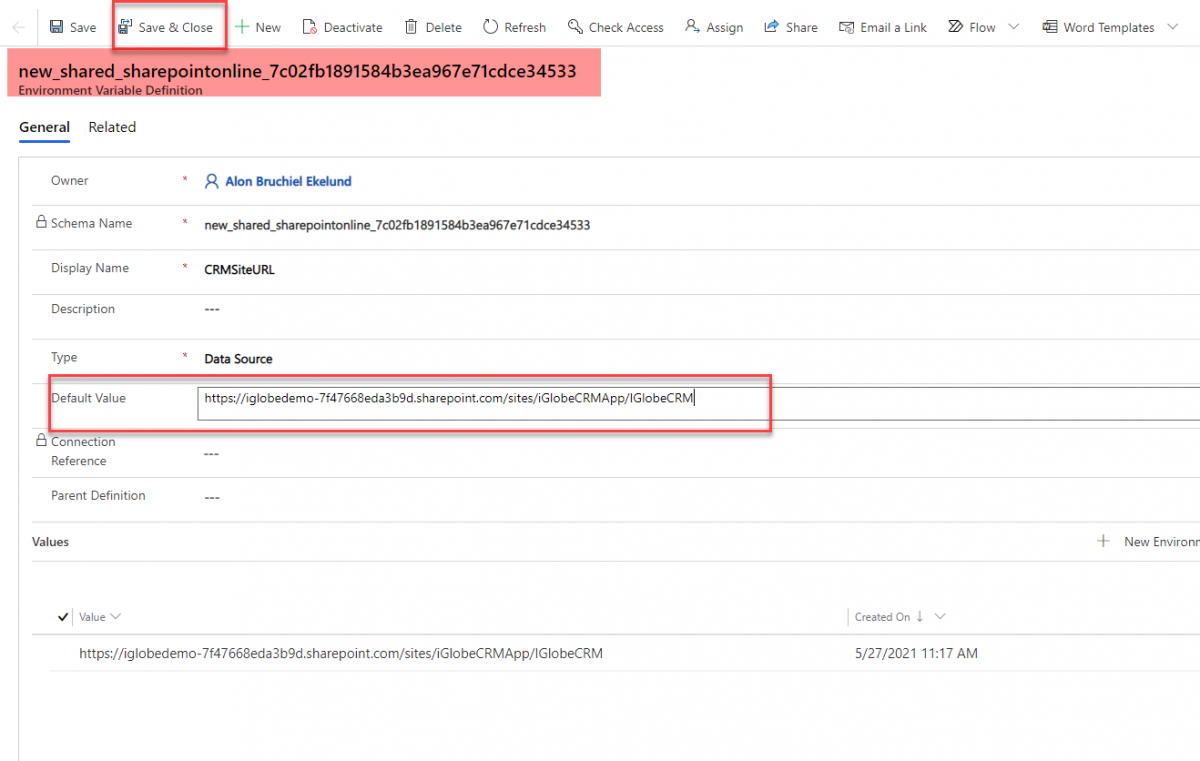
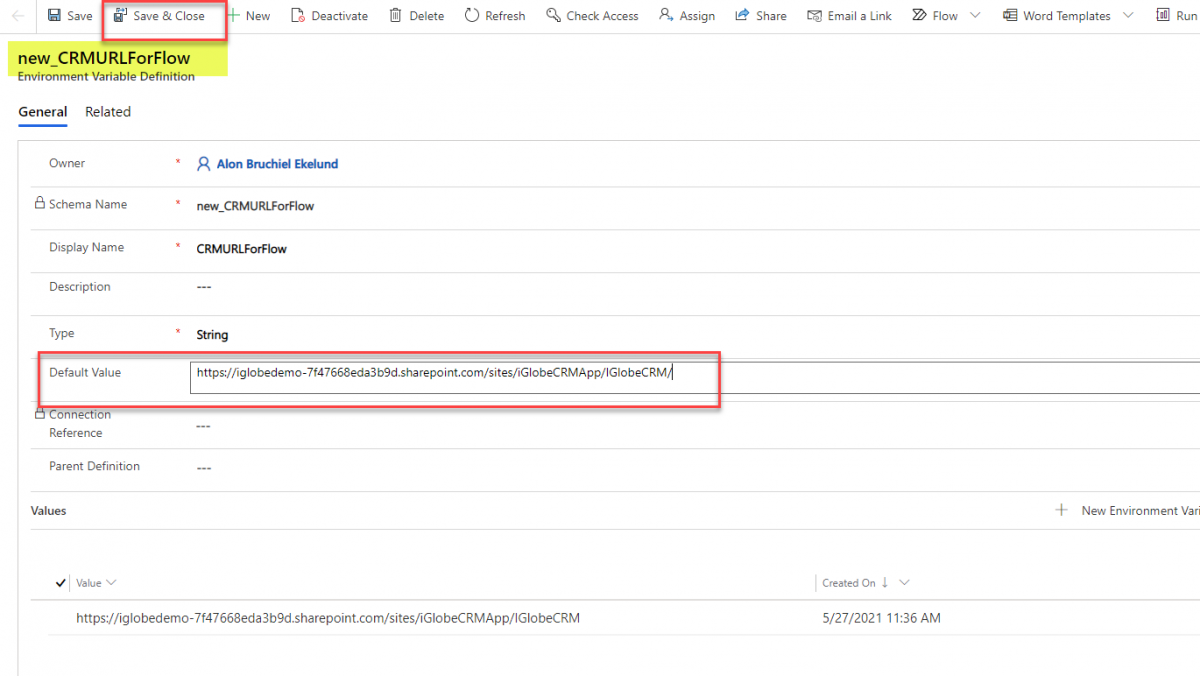
10. You will now need to configure the App to point to your CRM. For each of the above do the following. Select first new_CRMSiteURL and click on "Edit record". A new browser page will open. Here you will have to enter the CRM site URL. Open iGlobe CRM Office 365 and copy the URL from https util “pages” it will look like this example https://YOURDOMIAN-9343dce445fe89.sharepoint.com/sites/SITENAME/IGlobeCRM
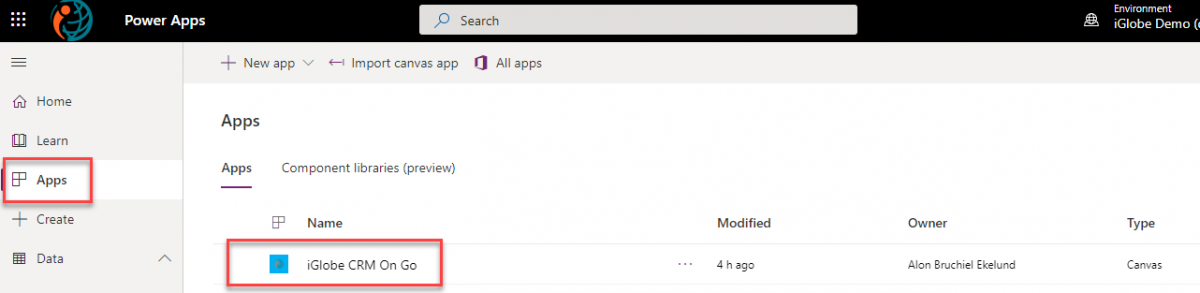
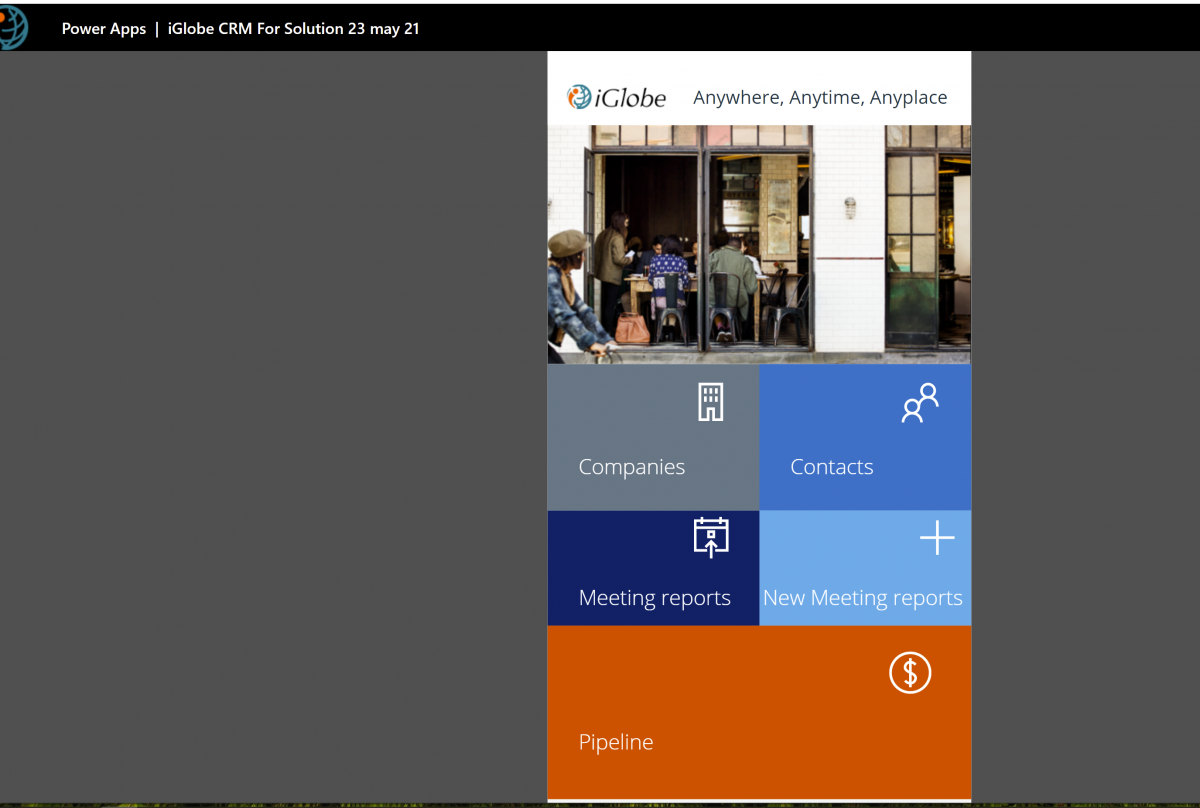
11. iGlobe CRM PowerApp is now configured. Click on Apps and you will se iGlobe CRM On Go
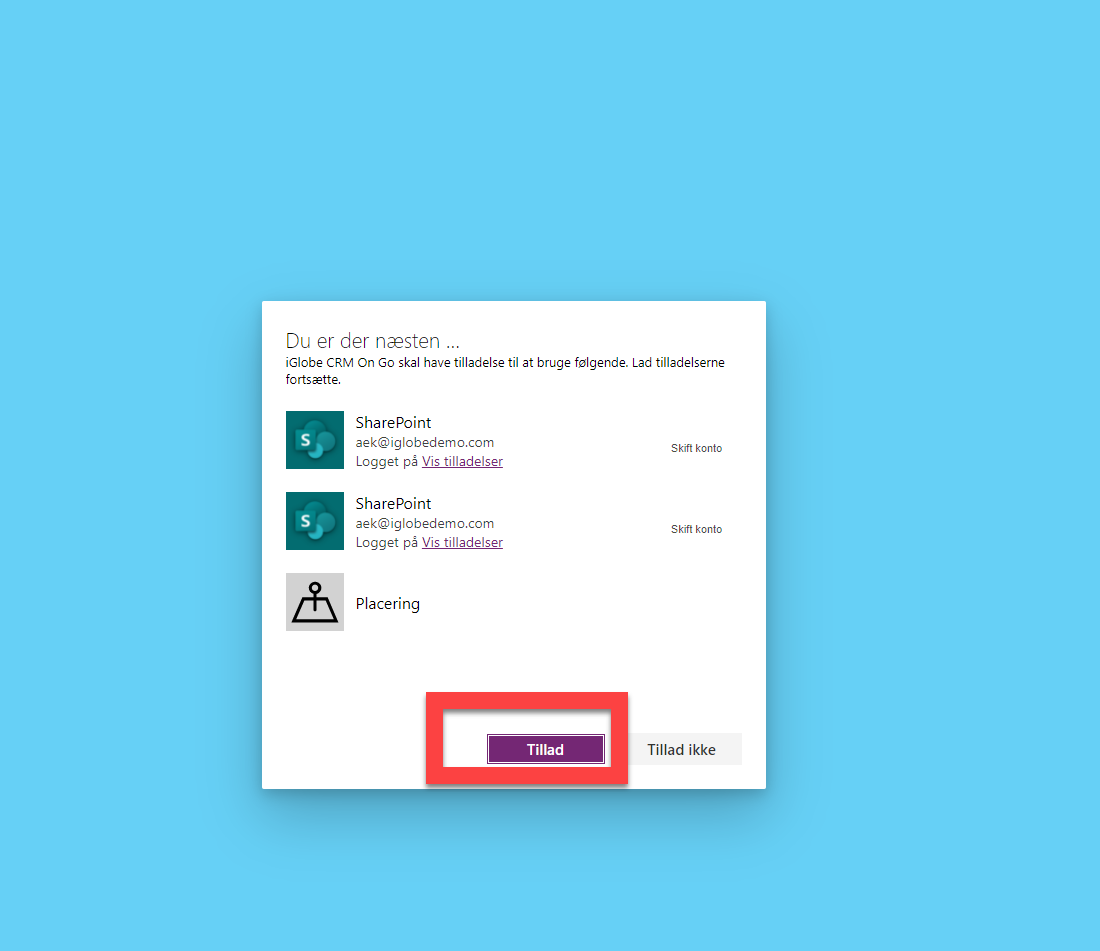
12. Click on the App to start the appication. Notice, If you don't have a SharePoint Connection you might have to create a new connection first.
The solution has now configured and you are ready to open and Share the app with you colleague
Select Apps and you will see the App you just deployed. Click to start the App or click on Share in the ribbon to share the app
Should you have any questions please feel free to contact us. We can also offer you a demo or assist you in the implementation.